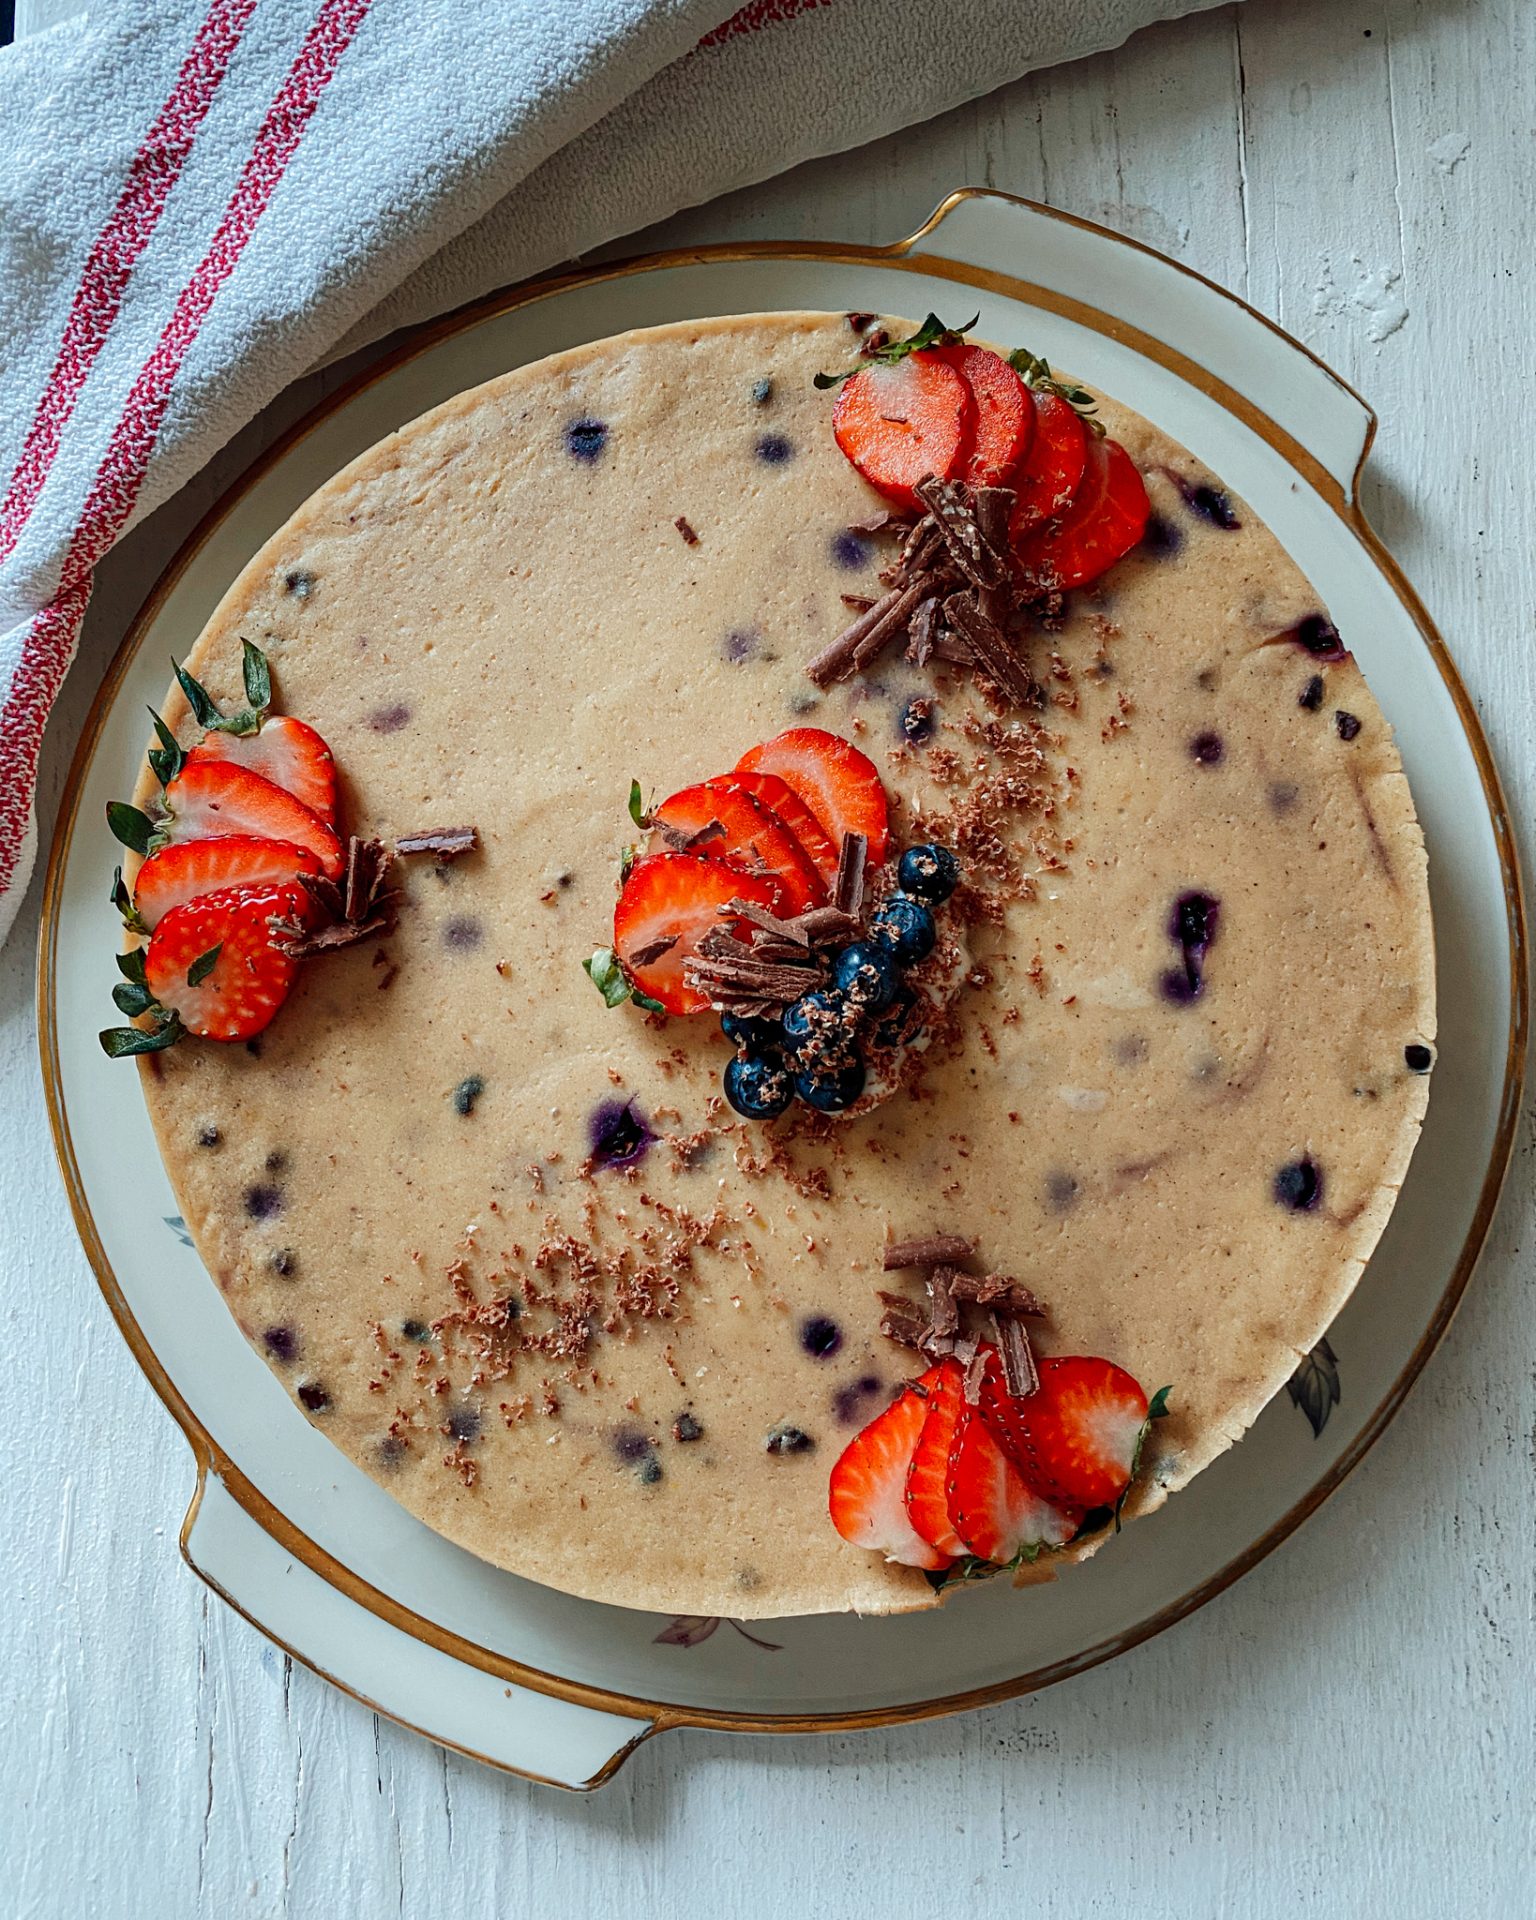
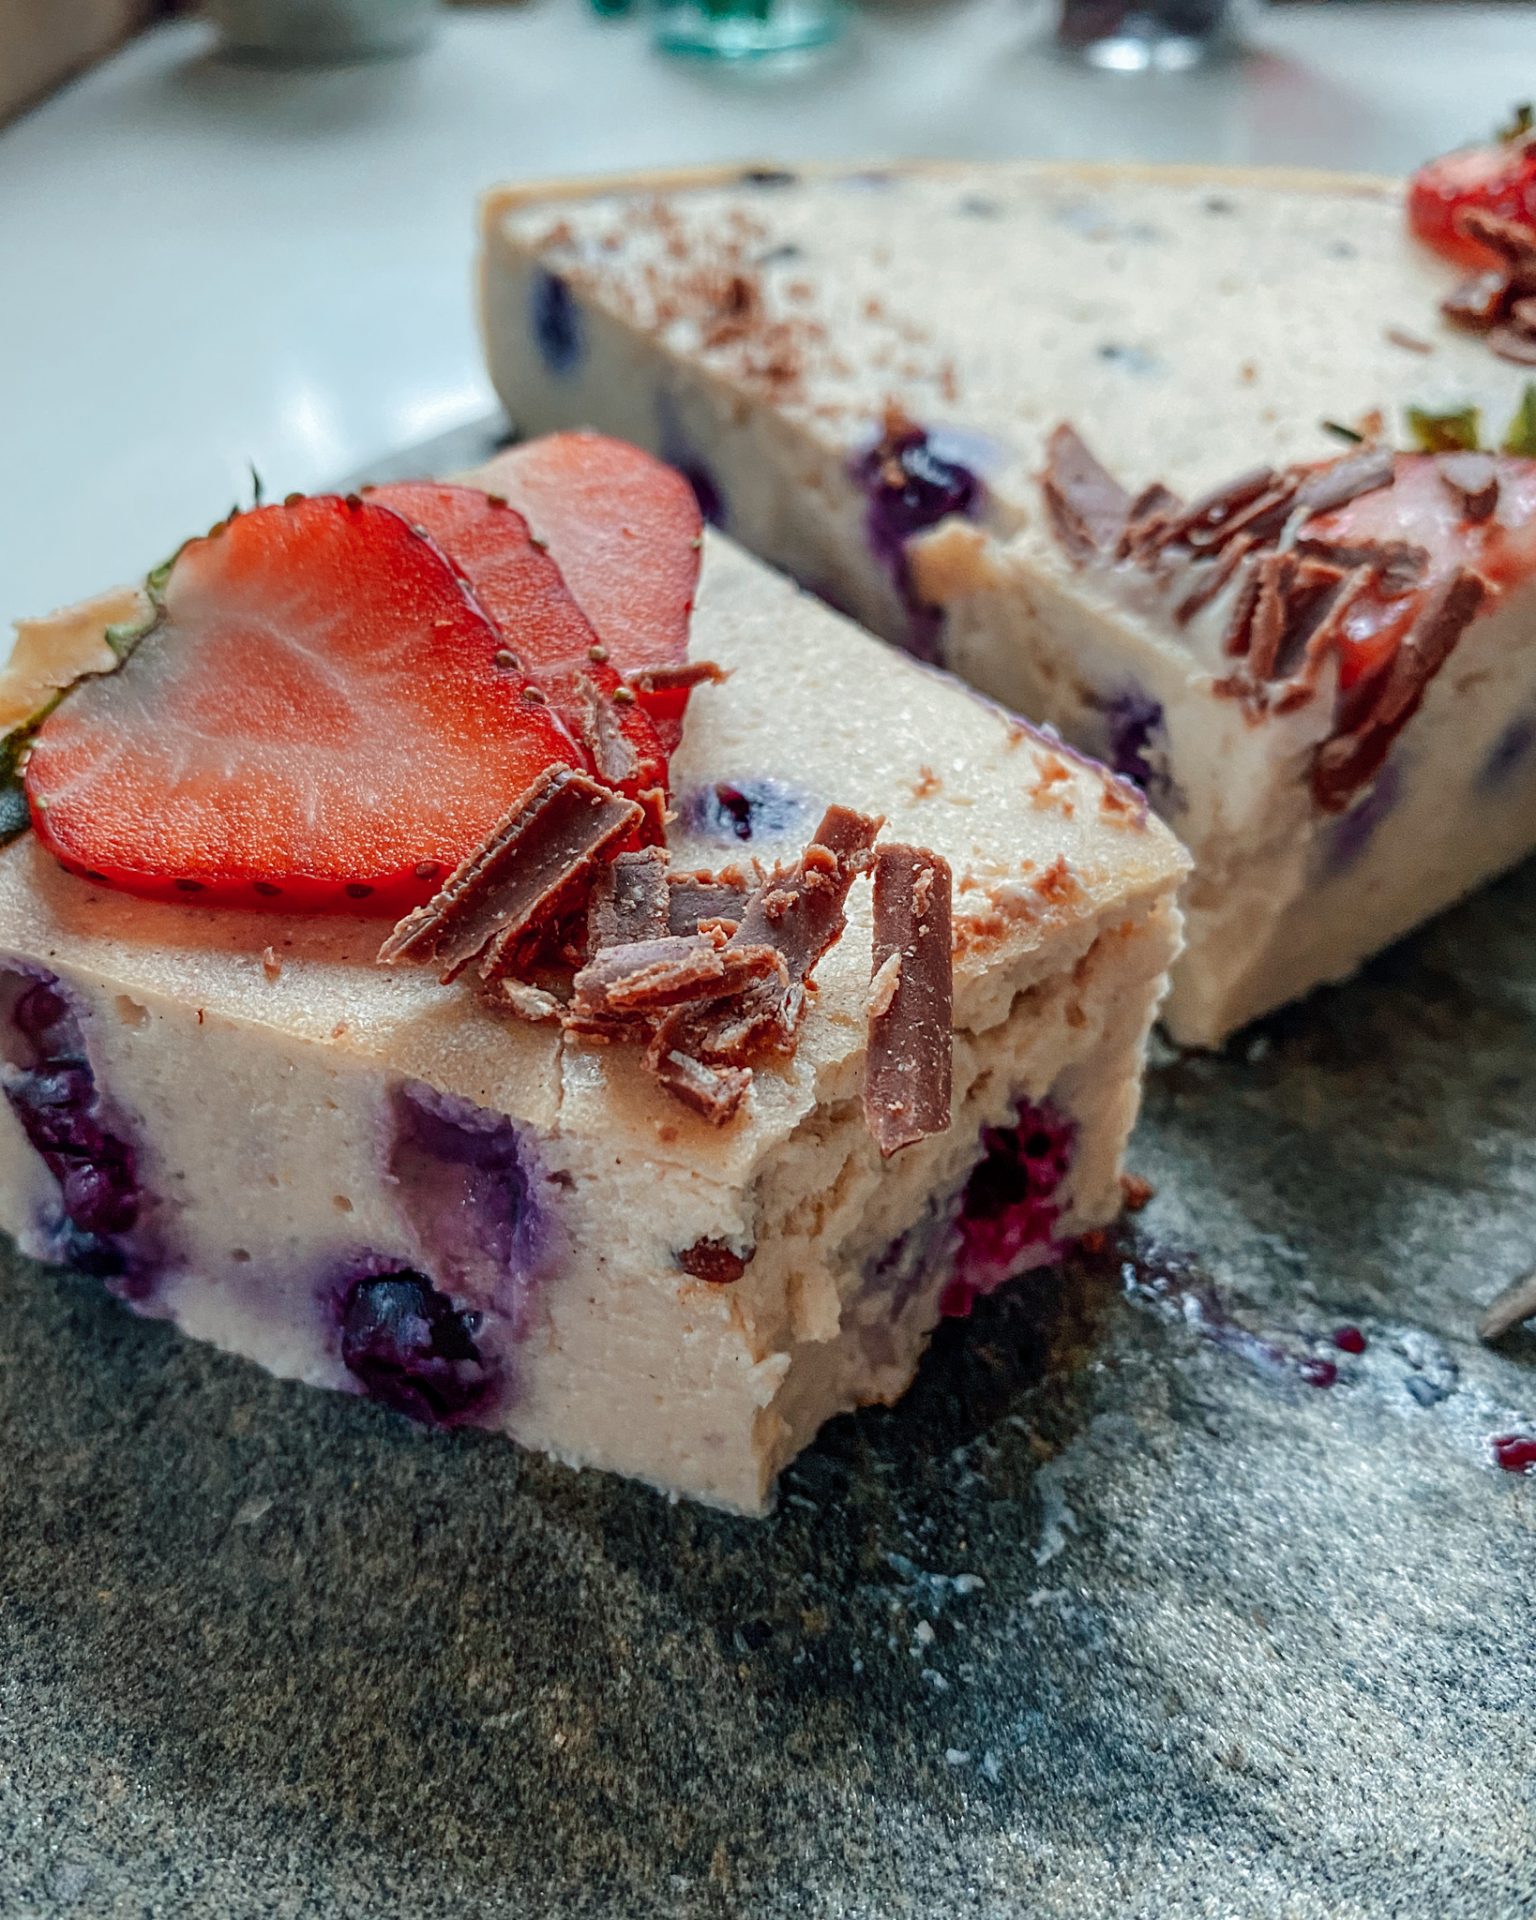
Summer is around and with it the fruity season but especially blueberries. Excited? Yeah! I could tell you a lot of great things about their nutritional value. But more importantly, they’re just incredibly delicious. And what could be healthier than happy hormones?

vegan cheesecake
Are you ready for the extra portion of happiness in the belly? Then I have a super-easy cheesecake recipe for you. Of course, as always vegan, light, high in protein, and natural through and through. Besides, you need only 10 minutes to make it and no crust :). This summery cheesecake is gluten-free, sugar-free, and unbeatably delicious. Well, maybe not quite unbeatable. The raspberry version is amazing too. Best try for yourself which one you like more.
My tip: I love to make cheesecake for birthday parties cause it’s so simple and everyone likes it. Then, I make two versions so I can keep one for myself at home as well. I also like to have both kinda berries in some versions. Feel free to play around and change whatever you feel like.
- Serves: 8
- Serving size: per 1 serving
- Calories: 161,6
- Fat: 8.7
- Saturated fat: 1.1
- Carbohydrates: 10
- Sugar: 1.6
- Fiber: 1.1
- Protein: 9.9

- 400 g soy curd
- 400 g tofu (natural, soft)
- 2 packets vanilla pudding powder
- 2 tsp psyllium husk (optional 1 flat tsp guar gum)
- 8 tsp coconut nut mousse/cashew butter/almond butter (or 4 tsp coconut oil)
- 180-200 g xylitol
- zest and juice of 1-2 organic lemon(s)
- 2 handful of blueberries
- 1 tbsp cocoa nibs
- Preheat oven to 180 degrees top-bottom heat.
- Transfer ingredients except for the berries in a blender and blend until creamy.
- Grease a round baking pan and dust with flour or semolina, if necessary, depending on the shape. Tap out the excess flour from the mold.
- Pour the batter into a baking pan. Stir in blueberries and cocoa nibs.
- Fill an ovenproof bowl with water and place it on the bottom of the oven. The water provides moisture, thus avoiding bubbles in the batter and giving the cake smoothness.
- Bake the cake on a baking tray at medium heat for 30-35 minutes.
- Once done, let the cake cool and refrigerate again if necessary. I prefer to eat my cheesecake cold. Decorated with berries and chocolate shavings.
for the recipe video, check out my Instagram:
https://www.instagram.com/p/CPTlXrAioXd/
Have you tried this cheesecake yet? Then feel free to share your creations with me and tag me on Instagram. I am looking forward to it!
Love, Annelina


[…] to create than I thought. What happened I share here on Youtube. I would also like to recommend my Soulfood Cheesecake, which helps me always and with everything :). Let’s take a look at what happened last month. […]